Almost every free mockup on this site is a layered Photoshop file built around one idea: the smart object. Get that idea right and a ten-minute mockup looks like a studio photo. Get it wrong and your crisp logo turns soft, stretched or flat, and the client starts asking questions about the design instead of approving it.
I have shot and built photo-based mockups for coffee, matcha and drinks brands for years, and the same five problems come up again and again, both from designers who buy our files and in Photoshop forums. This guide covers the basics quickly, then spends most of its time on those five problems.
What a smart object actually is
A smart object is a window. The scene you see (the cup, the hand, the shadows) is the main PSD. The artwork sitting on the cup lives in a separate file behind that window, usually a .psb. When you double-click the smart object thumbnail, Photoshop opens that hidden file. You place your design there, save, and Photoshop pushes it back through the window, applying the curve, perspective and lighting the mockup maker built in.
That is why you should never paste artwork straight onto the photo layer. The realism lives in the layers around the smart object, not in the photo.
The basic workflow (five minutes)
- Open the PSD and find the layer named something like Your Design Here. It has a small page icon on its thumbnail.
- Double-click that thumbnail. A new tab opens with the flat artwork canvas.
- Check the canvas size (Image → Canvas Size). This is the exact size your artwork should be designed at.
- Place your design (File → Place Embedded), fit it to the canvas, and hide the sample artwork.
- Save (Ctrl/Cmd + S), close the tab, and look at the main file.
No Photoshop? Photopea opens most PSD mockups in the browser and handles smart objects the same way, though very large files can be slow.
Problem 1: the design looks blurry or pixelated
This is the most common complaint by far. It almost always has one of three causes:
- Your artwork is smaller than the smart object canvas. If the canvas is 3000 px wide and you place a 900 px PNG, Photoshop has to enlarge it. Export at the canvas size or larger.
- You placed a vector and then scaled it inside the canvas. Photoshop turns it into pixels at the moment it renders. Place the vector at its final size, or place it as a Smart Object from Illustrator and resize it before you save.
- The surface is heavily warped. The tops and sides of boxes, or the curve of a can, get squeezed. Thin type and hairlines suffer most. Use a slightly heavier weight for small text on curved areas.
A quick test: zoom the main file to 100%, not “fit to screen”. Photoshop previews at lower zoom levels can look soft even when the export is fine.
Problem 2: the artwork is stretched
You save the smart object and your logo comes back wider or taller than you drew it. The smart object canvas has a different ratio from your artwork, and you scaled to fill it. Design to the canvas ratio from the start. For a can or cup wrap, that means designing the full flat wrap, not just the front face.
Problem 3: my design is there, but the sample still shows
Inside the smart object, layer order matters. Your artwork must sit above the sample artwork, or the sample must be hidden. Many files name the sample clearly (“sample”, “delete me”), so it is quick to find.
Problem 4: the colours look darker or muddy
The realism layers (shadows, highlights, texture) are usually set to blend modes like Multiply or Overlay on top of your design. That is supposed to happen; real printed packaging is never as bright as the screen. If it is too much:
- Lower the opacity of the shadow or texture group, not your artwork.
- Look for a colour or “paper” layer under your design. Light packaging needs a light base.
- Check the document colour mode. Mockups are built in RGB. A CMYK file pasted in without conversion often turns dull.
Problem 5: it looks pasted on, not printed
This one is about judgement, not settings. After ten years presenting packaging to café and matcha owners, the things that make a mockup believable are:
- Respect the material. Matte kraft does not shine. Aluminium does. If your design has a gloss effect on a paper bag, remove it.
- Keep artwork away from seams and edges. On cans and cups, the wrap disappears around the side. Key text in the front third.
- Match the light. A mockup shot in warm morning light makes a cold blue design look odd. Pick the scene for the palette, not the other way round.
Which mockup to start with
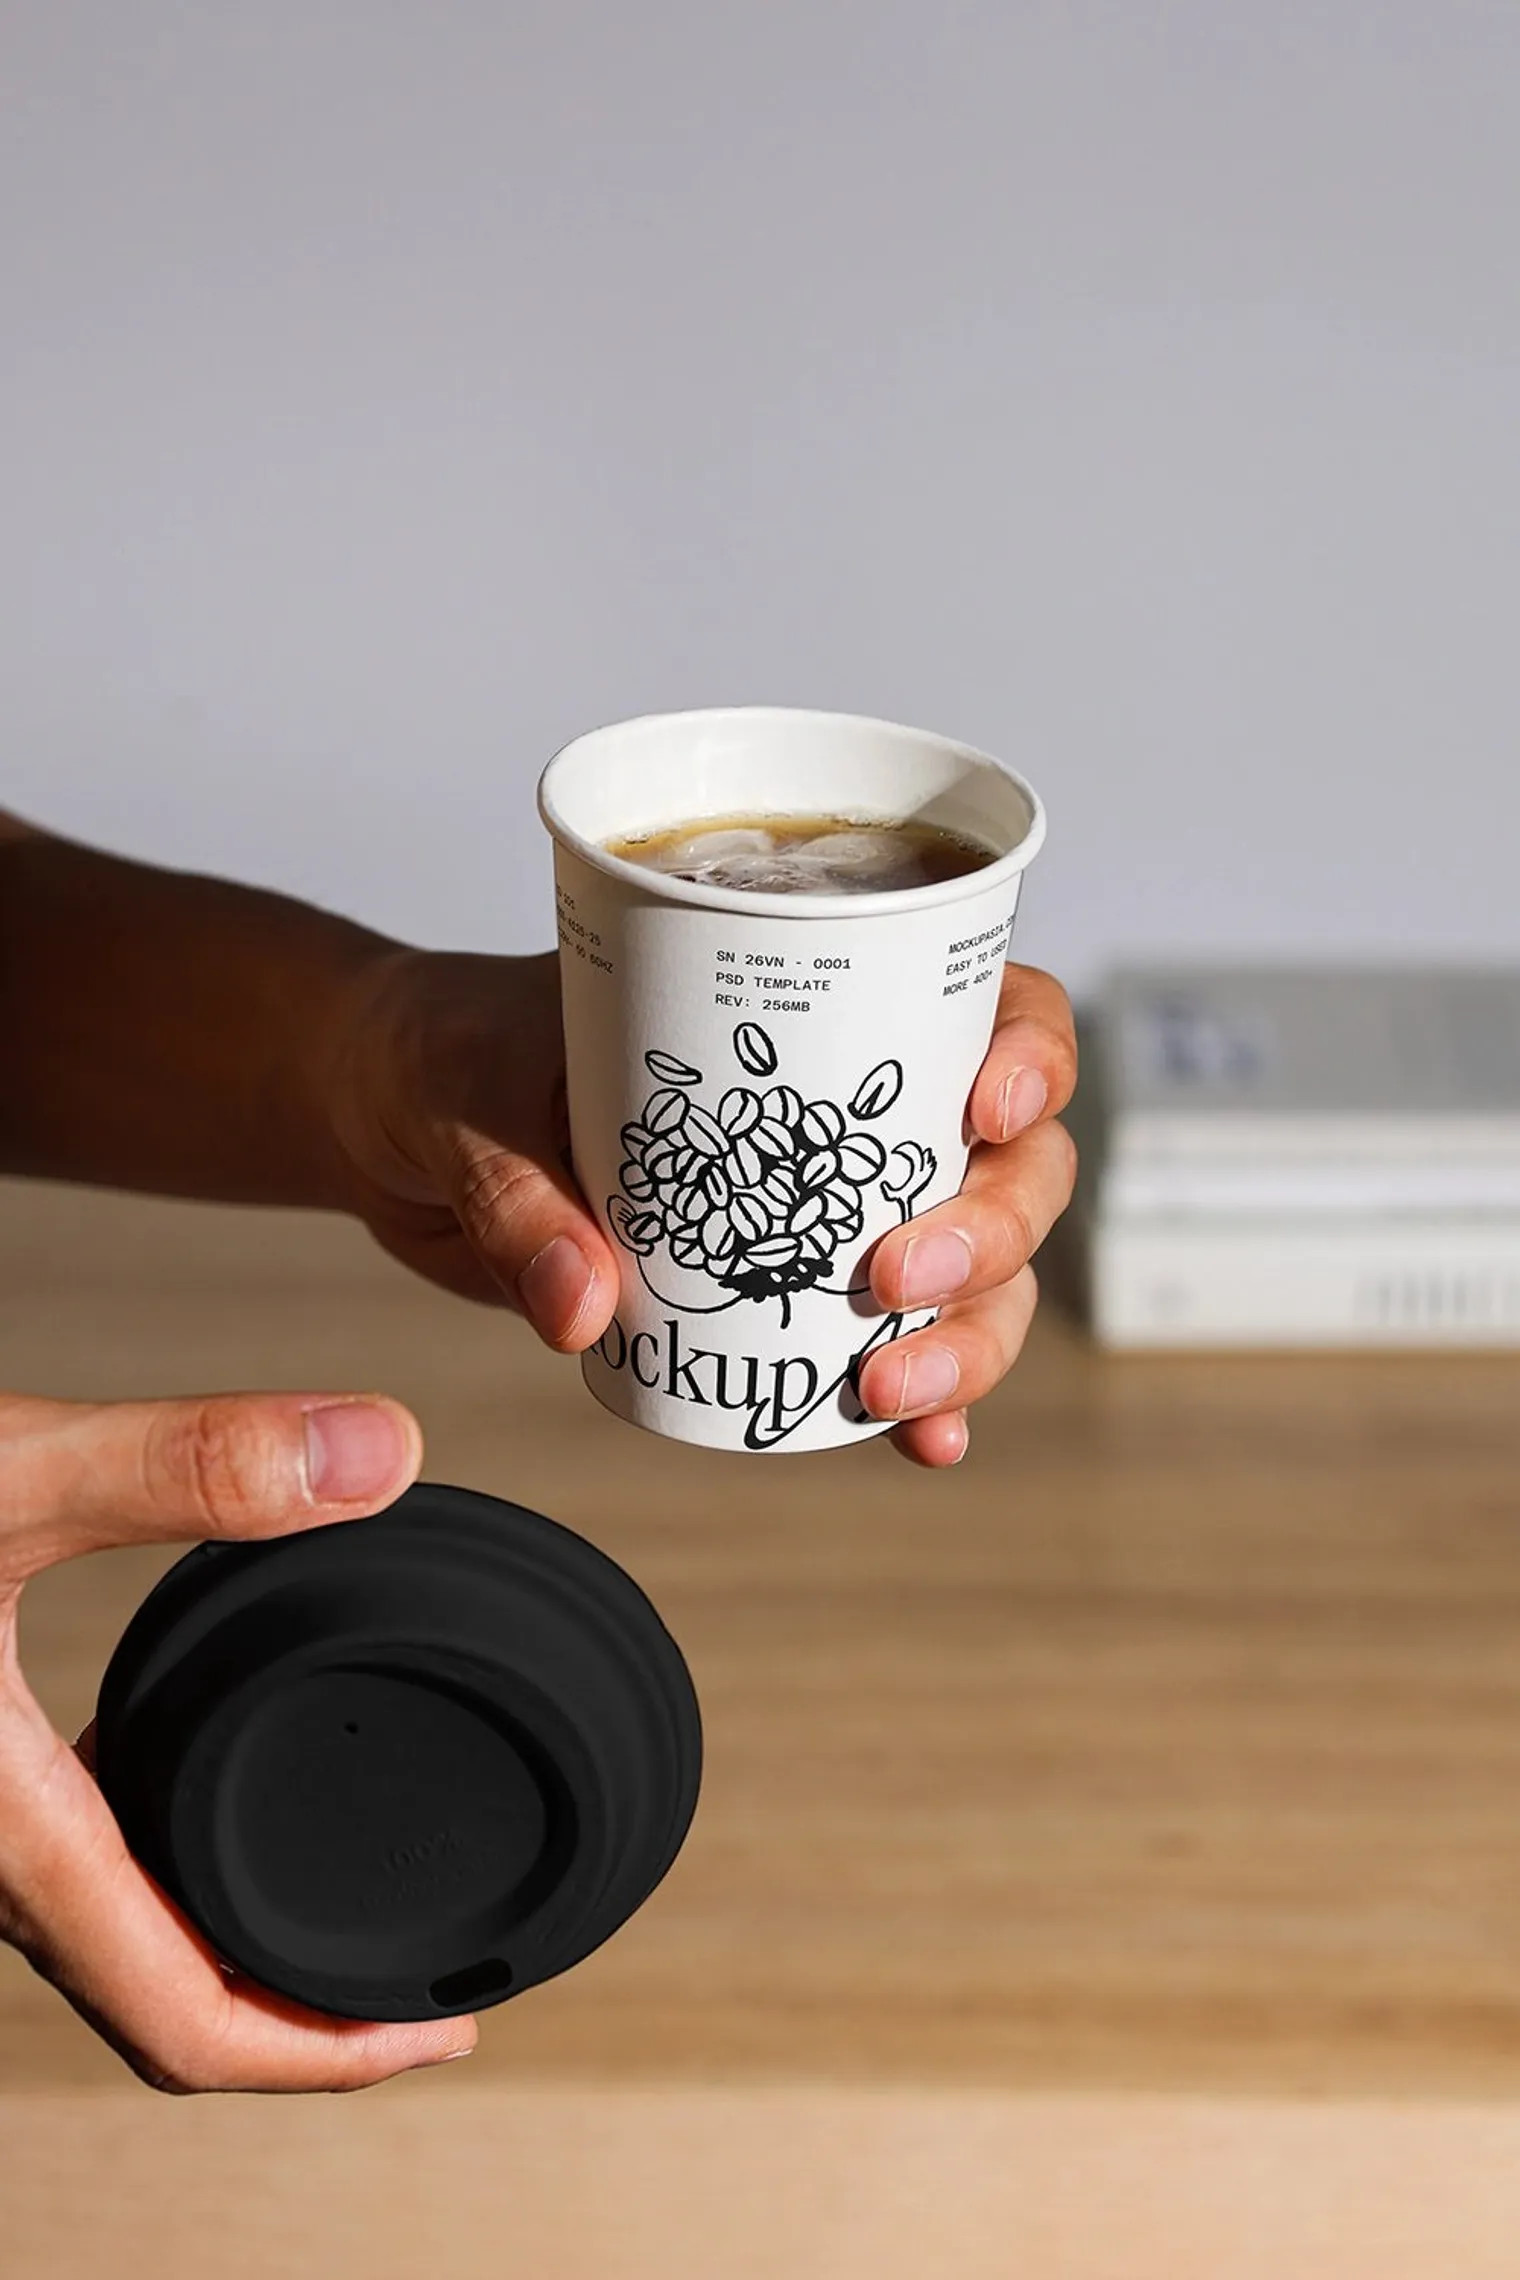
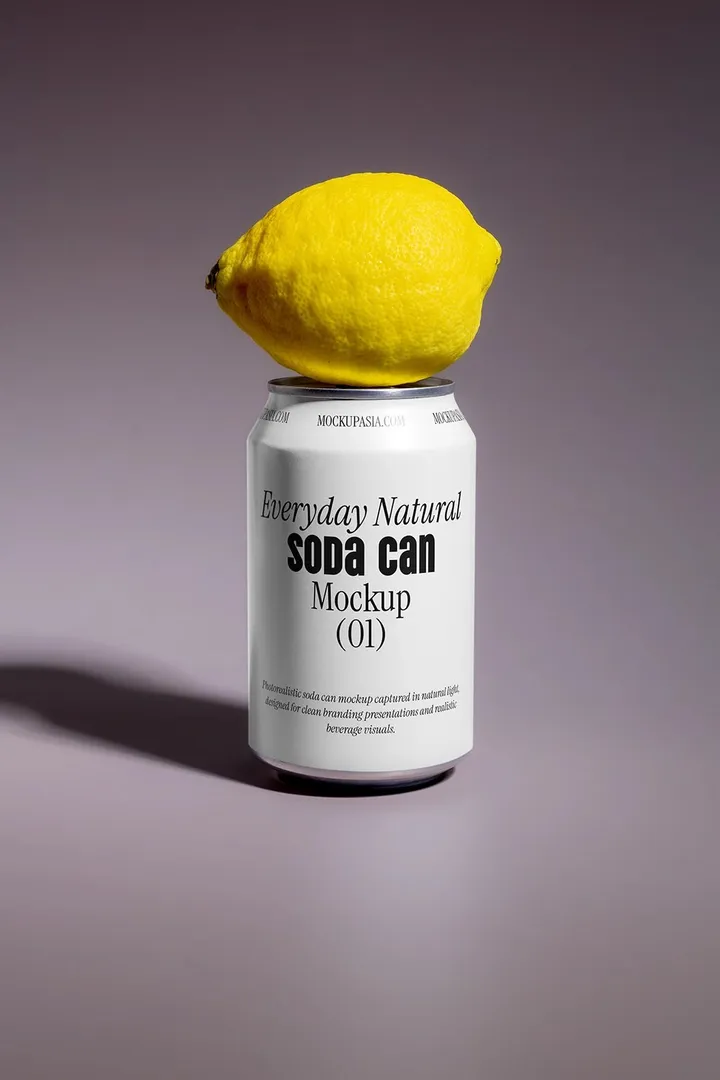
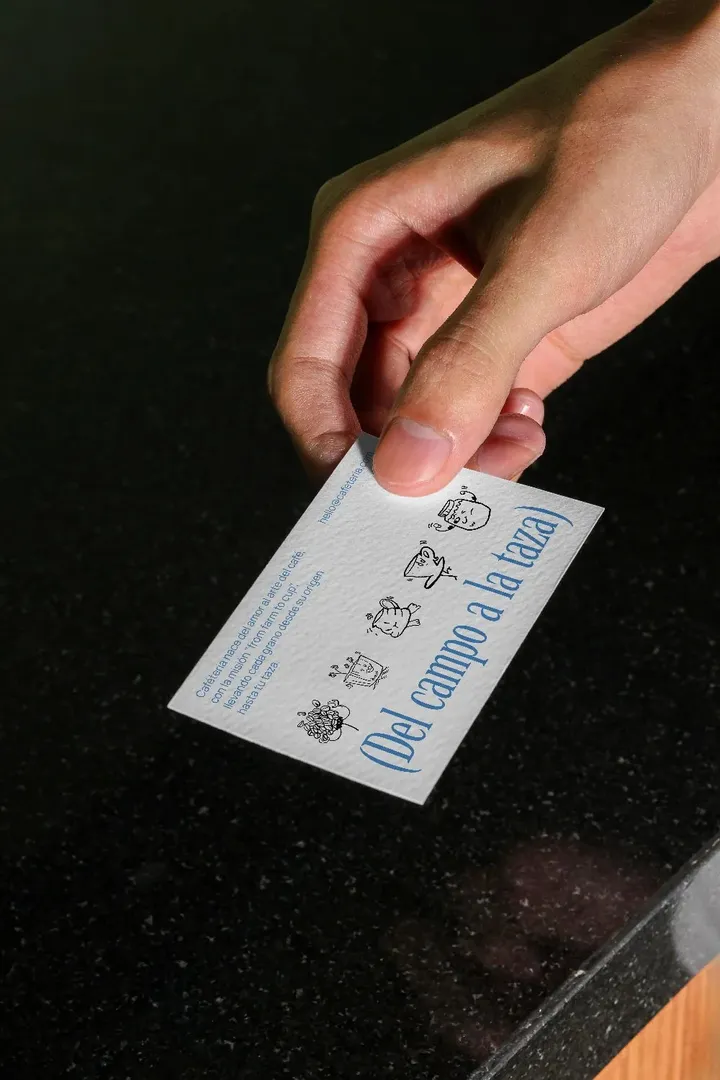
If you are new to smart objects, start with a single flat-front item before trying wraps and curves. A hand-held business card or an A4 poster held against the sky is forgiving. Once that works, move on to curved surfaces like the soda can with lemon or the iced coffee cup. You can browse every free packaging mockup on freebiecrate.
A five-point checklist before you send it to a client
- Viewed at 100% zoom, the smallest text is sharp.
- The design is not stretched compared to your original file.
- No sample artwork shows anywhere, including the back or sides.
- Colours match the brand within reason, after shadows.
- The licence of the mockup allows the use you have in mind. If you are not sure, read our guide to free mockup licences.
Mockup Asia
Coffee Brand Mockup BundleCups, bags, cards and signage in one consistent light.
More guides
All guides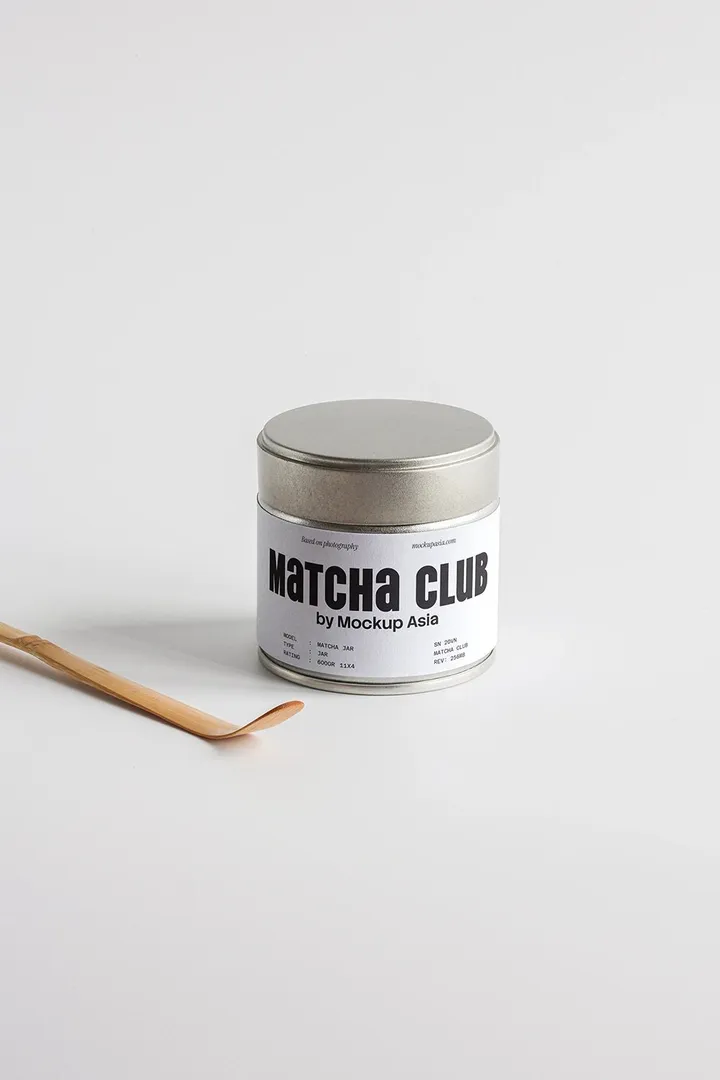
Designing a Matcha Brand: Lessons From Real Projects
What I have learned designing matcha and Japanese café brands: colour, type, tins versus pouches, and how to present the packaging so owners say yes.
Realistic Photo Mockups vs AI Mockups for Packaging
When an AI-generated packaging mockup is good enough and when a photo-based PSD still wins, from a designer who makes both.
Can You Use Free Mockups for Client Work? Licences Explained
Personal, commercial, standard, extended: what free and paid mockup licences actually allow, written by a mockup maker who answers these questions every week.